
Our Process
Every Grunit pool follows the same engineered path — a transparent, step-by-step build that protects your investment from first sketch to first swim.
Start Your Project →- 01 Step 01
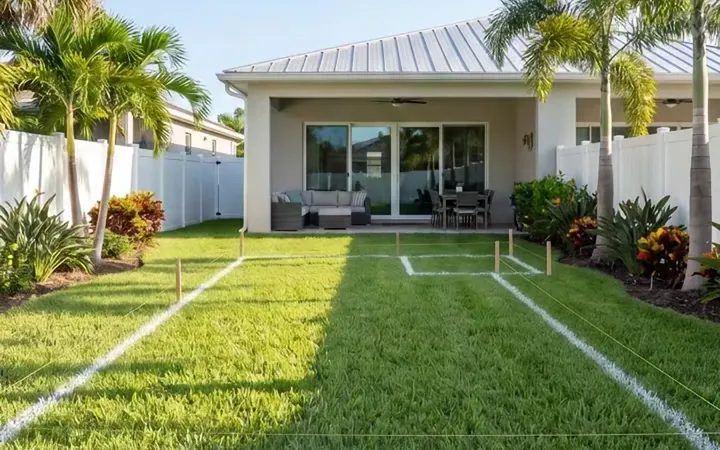
Layout
We stake the approved design directly on your property — marking the exact footprint, depth, and elevations — and pass the preliminary excavation inspection before a shovel hits the ground.
- Site staking
- Footprint & elevations
- Excavation inspection
- 02 Step 02
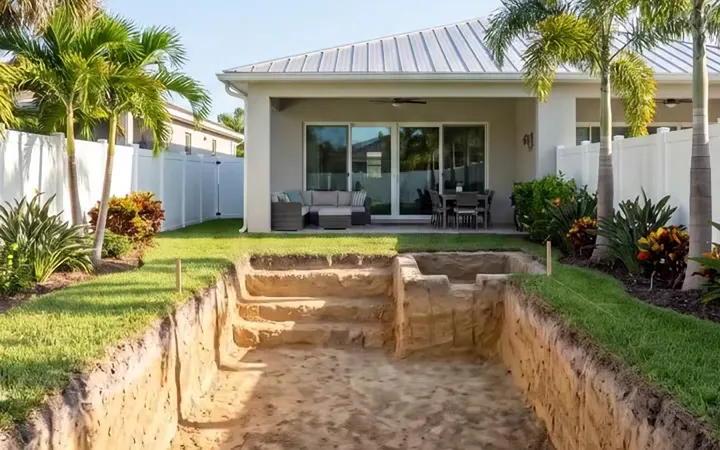
Dig
Excavation crews carve out the pool to precise specification — shaping the floor, walls, steps, and benches — while managing haul-off and site access.
- Shape & depth
- Steps & benches
- Haul-off
- 03 Step 03
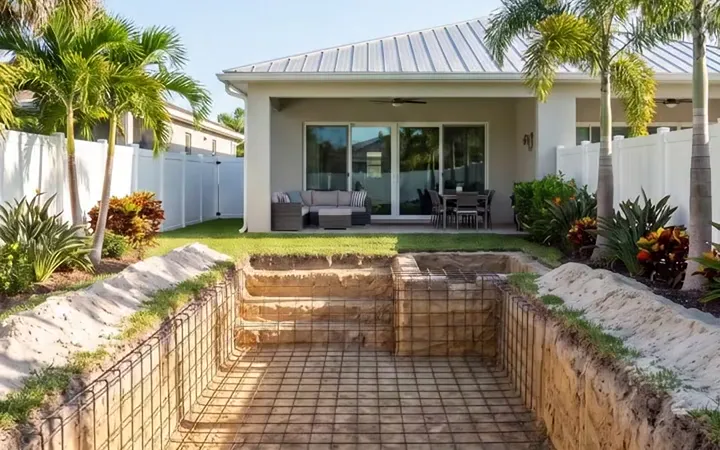
Steel
A hand-tied rebar cage is built throughout the shell and electrically bonded to code — the steel skeleton that gives your pool its structural strength.
- Rebar cage
- Steel bonding
- Pool steel inspection
- 04 Step 04
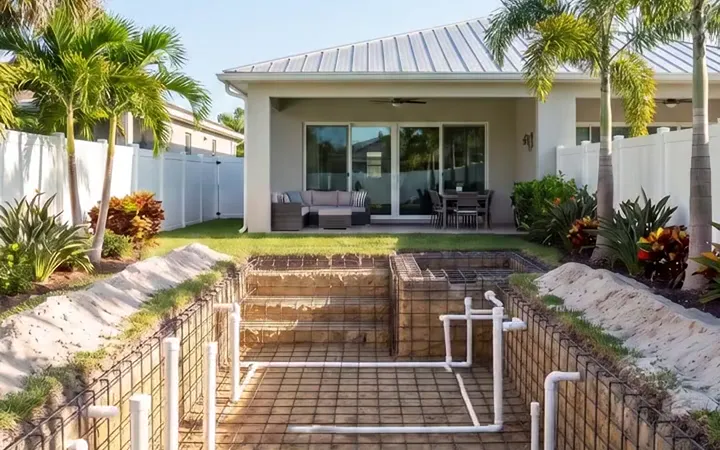
Pre-Plumbing
Main drains, jets, and feature plumbing are roughed in through the shell — everything that will live under concrete — then every line is pressure-tested and inspected before a single yard of concrete is poured.
- Main drains & jets
- Feature lines
- Pressure test & inspection
- 05 Step 05
Gunite
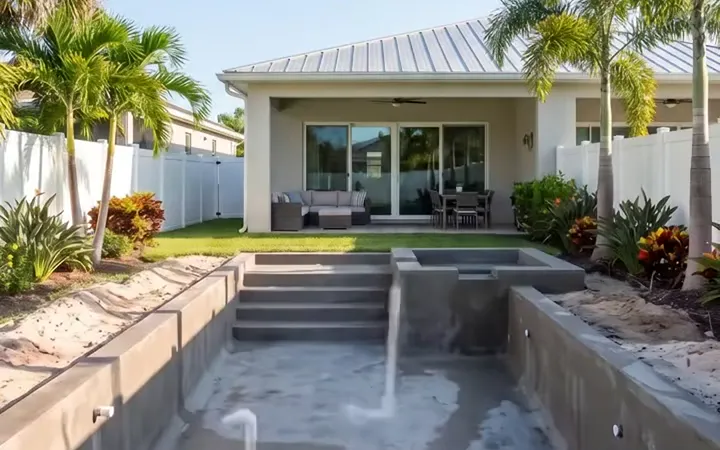
Pressure-applied gunite is sprayed over the steel to form the monolithic concrete shell — the structural heart of the pool — then moisture-cured toward its full design strength.
- Shotcrete shell
- Steps & spa
- 28-day cure
- 06 Step 06
Plumbing
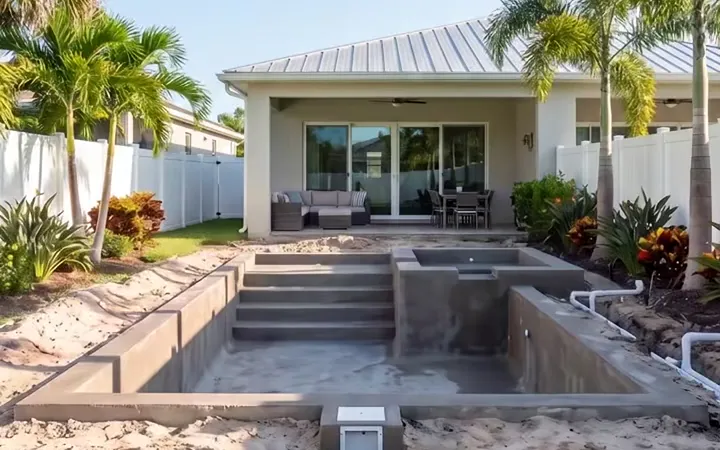
The full plumbing system — skimmers included — is assembled and pressure-tested, with underground electrical runs set — verified by pipe-pressure and underground inspections.
- Skimmers
- Pressure test
- Underground electrical
- 07 Step 07
Close Trenches & Bonding
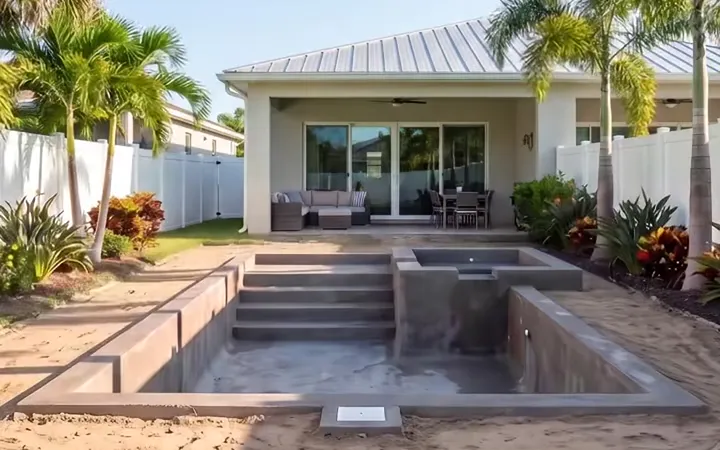
Trenches are backfilled and the equipotential bonding grid is completed and grounded — a critical safety step that ties all metal to a common electrical ground.
- Backfill
- Bonding grid
- Grounding inspection
- 08 Step 08
Tile & Coping
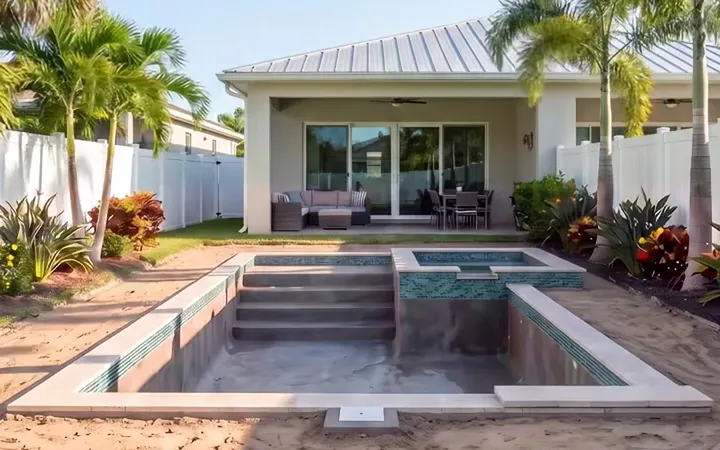
Waterline tile and coping stone are set by hand, defining the pool’s edge, the spa, and the first real glimpse of its finished character.
- Waterline tile
- Coping stone
- Spa spillway
- 09 Step 09
Footer and/or Retaining Wall
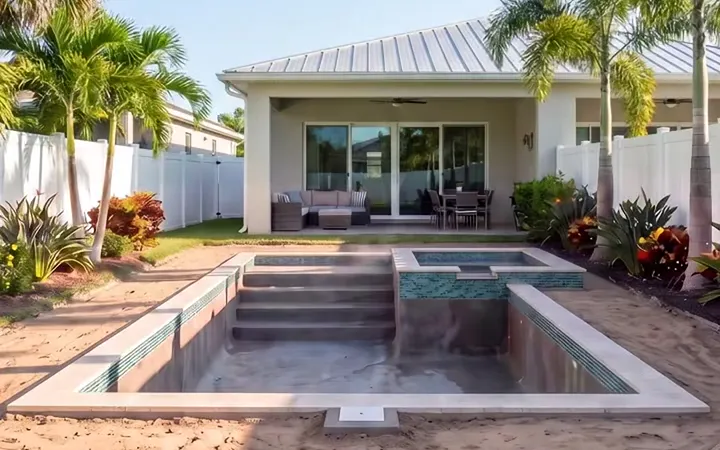
If your design calls for them, structural footers, curbs, and retaining walls are poured — engineered and inspected — so the deck and surroundings are fully supported.
- If applicable per design
- Curbs & retaining walls
- Engineered & inspected
- 10 Step 10
Deck & Equipment
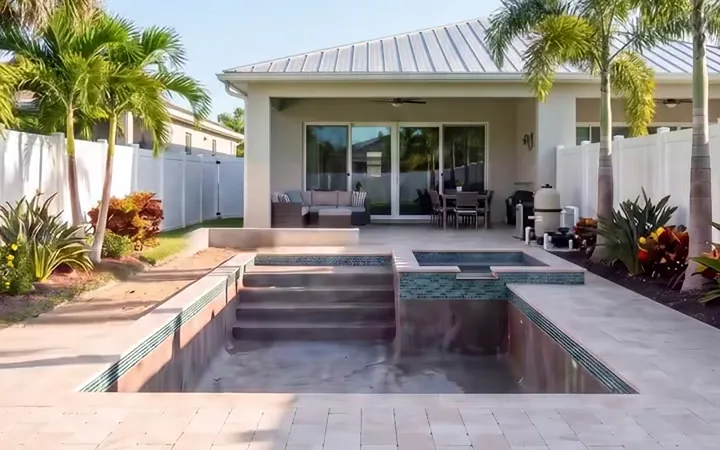
Pavers, travertine, or poured decking go down and the equipment pad is set — pumps, filter, heater, and automation installed, with your choice of chlorination system: salt, chlorine, or solar.
- Pavers & travertine
- Pumps, filter & heater
- Salt / chlorine / solar
- 11 Step 11
Electrical
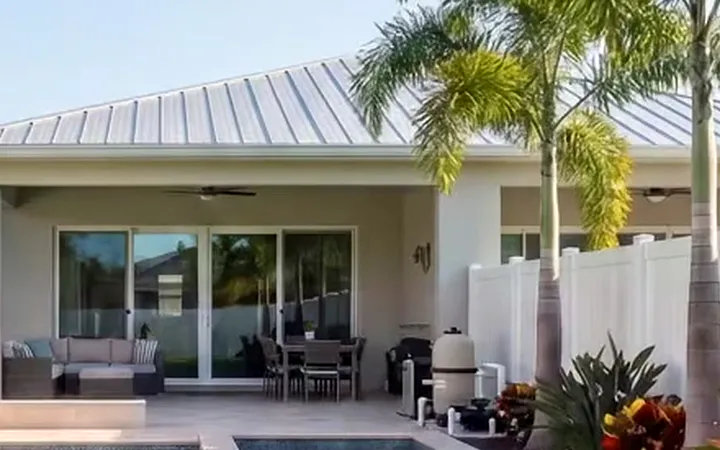
Final electrical connections are made and safety-tested — equipment, lighting, and automation energized and verified to code.
- Equipment wiring
- LED lighting
- Safety inspection
- 12 Step 12
Interior Finish & Waterproofing
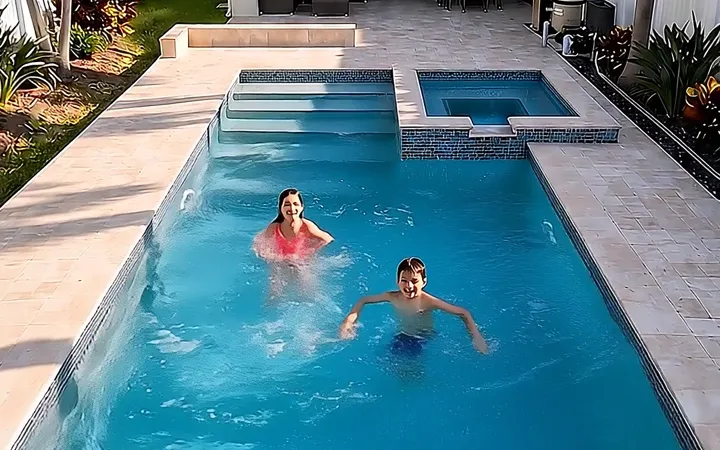
You choose the interior finish — quartz and mini pebble are two of the handful of options we offer — and it’s applied by hand to seal the shell watertight. Then the pool is filled, the water is balanced, and we pass final inspection. Time for your first swim.
- Quartz / mini pebble
- Fill & balance
- Final inspection